|
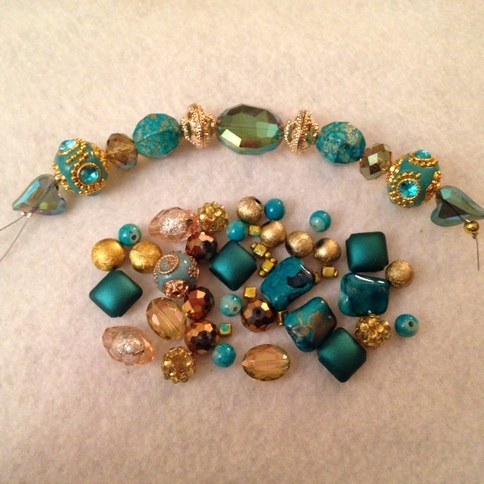
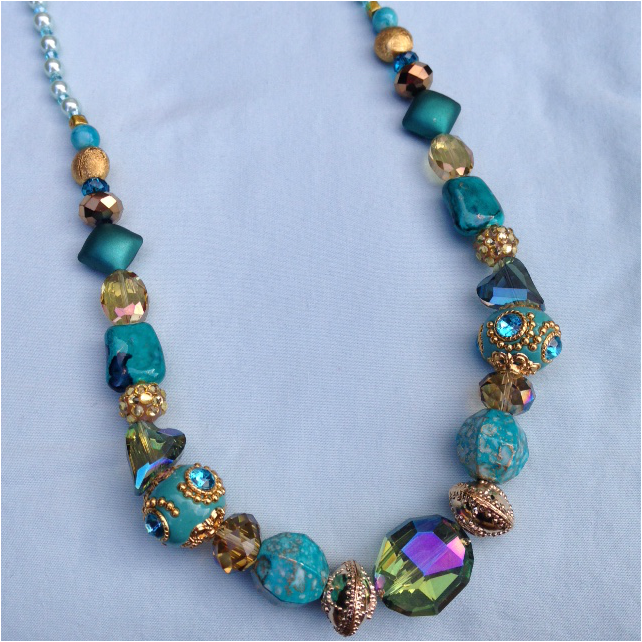
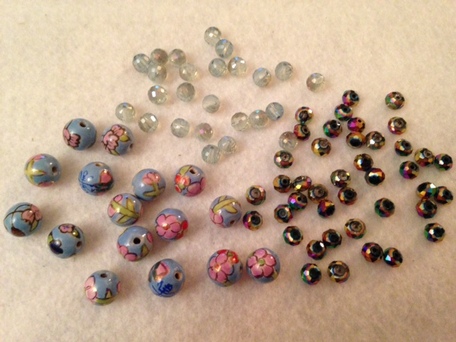
After spending some time bead shopping this weekend, I was in the mood to create some beady goodness. I came up with three necklaces that I love. The first necklace I am calling Turkish Delight. I LOVE the combination of gold and teal / turquoise / seafoam together. There is just something magical and mystical about it. When I found the string of beads below (top right) I couldn't leave the store without them. 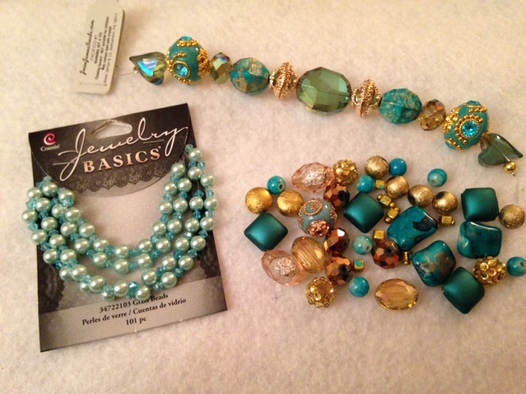
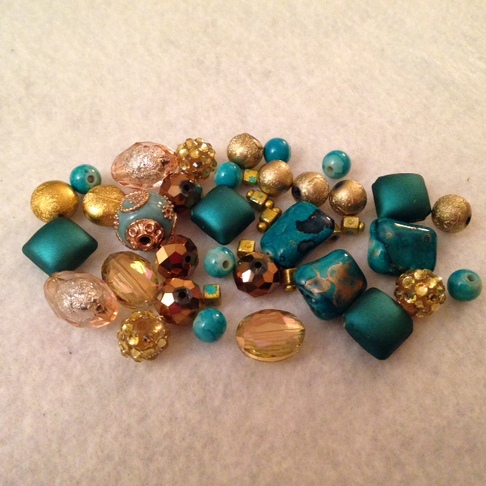
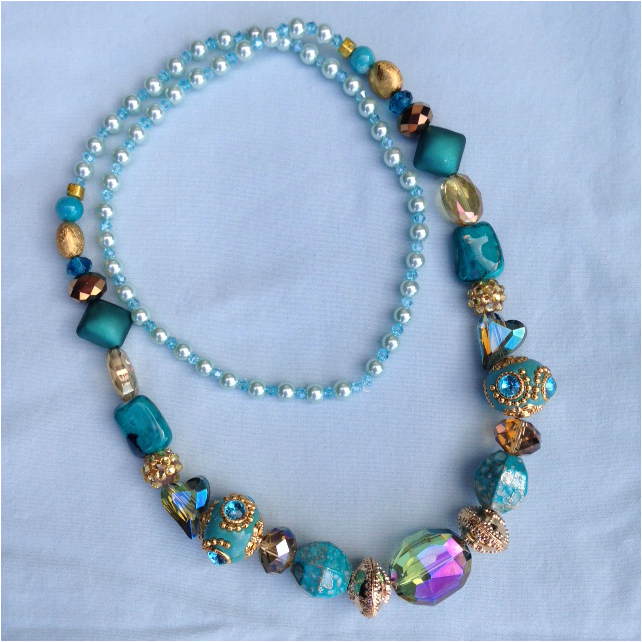
I wanted to keep the string of beads just as they were as I thought that they were magnificent. I used some beads from a bag of complimentary beads to add some additional mystique and length. Since I wanted a long necklace that showcased the focal beads, I added a strand of light turquoise pearls and crystals to the end. Needless to say, I can't wait to wear this!
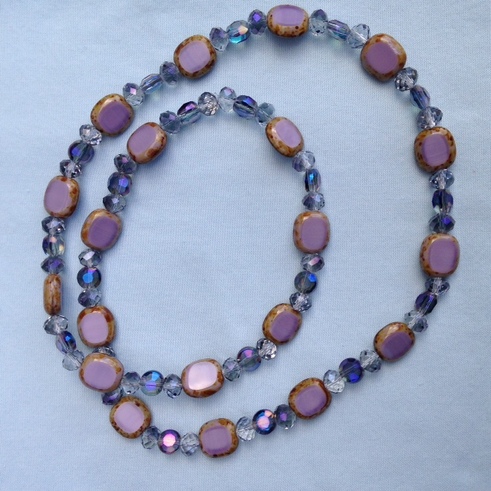
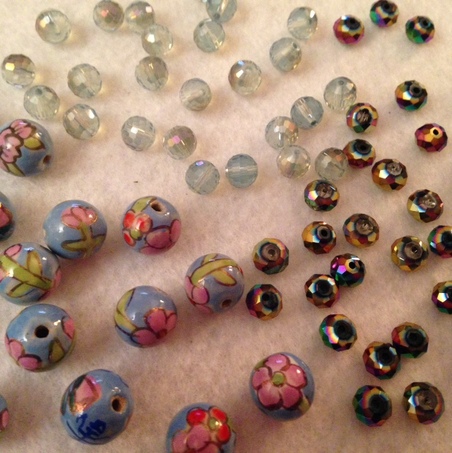
The second necklace I am calling Japanese Blossom. I found these delightful beads that had a very delicate looking design on them. Similar to a cloissone bead, they had bright colorful flowers that were trimmed in gold paint. They also had a cool asian script on them. The crystals I added really brought out the colors of the beads.
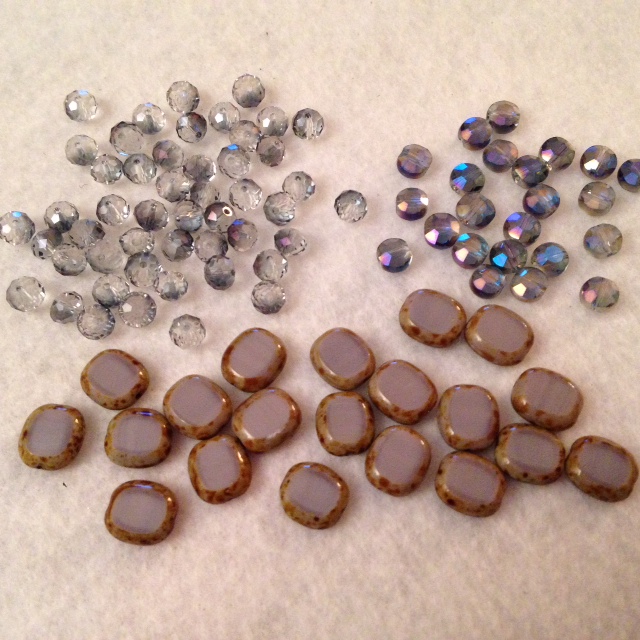
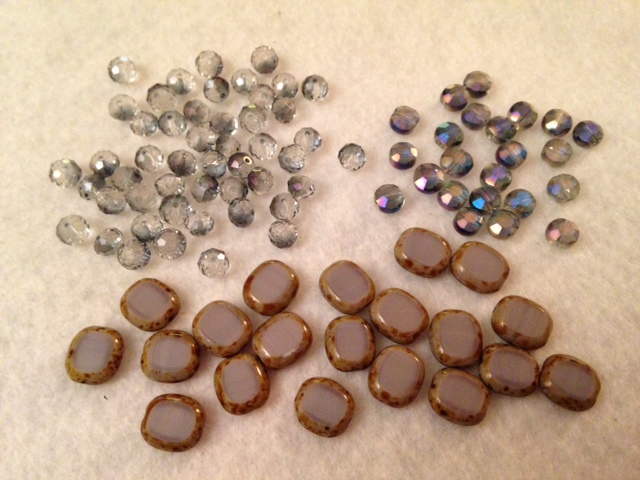
 The third necklace I am calling Venetian Breeze. I loved the cut glass beads (bottom center). The light purple is accented by the brown speckled edges, and I felt that the crystals really complimented the colors well. They added just the right amount of sparkles.
0 Comments
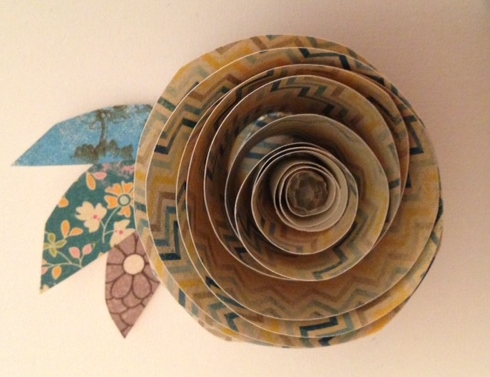
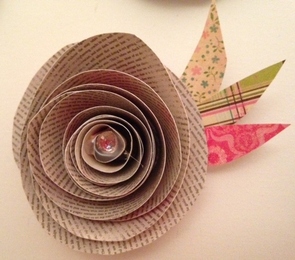
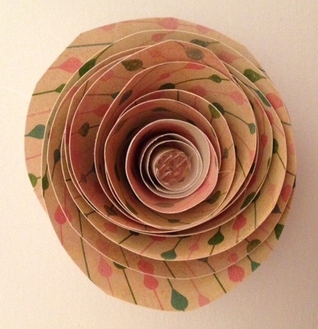
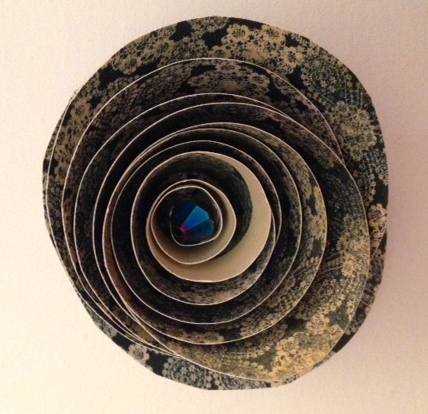
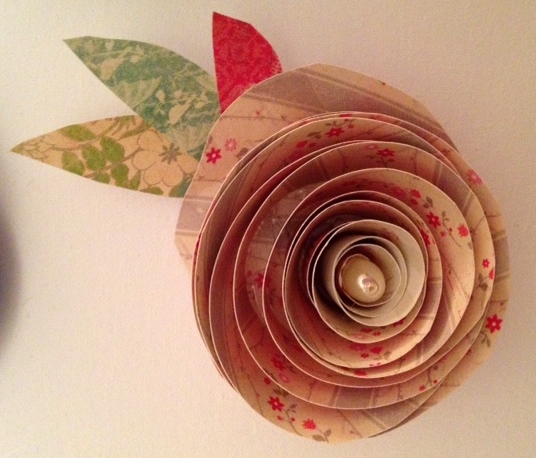
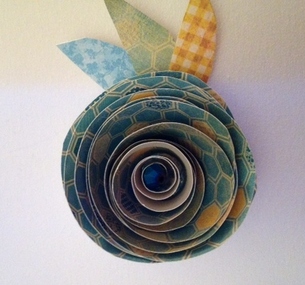
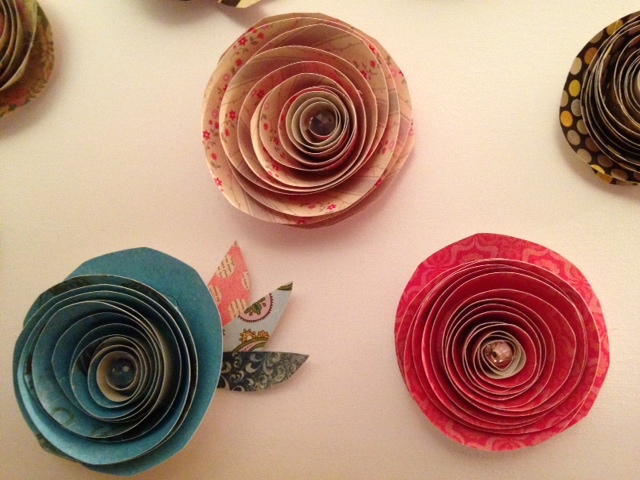
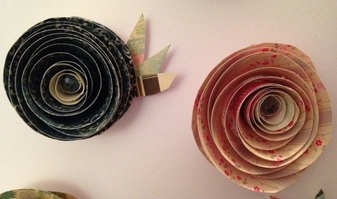
I wanted to make a nice wall hanging for my office, but I wasn't sure what to do with such a large space. So I did what any good crafter would do...I got on Pinterest. After hours of browsing, I discovered this paper flower garland that I loved. The instructions seemed pretty straightforward, so I decided to make some for myself. The one thing the instructions left out was how addicting they are to make. They are like Pringles: once you start, you just can't stop. 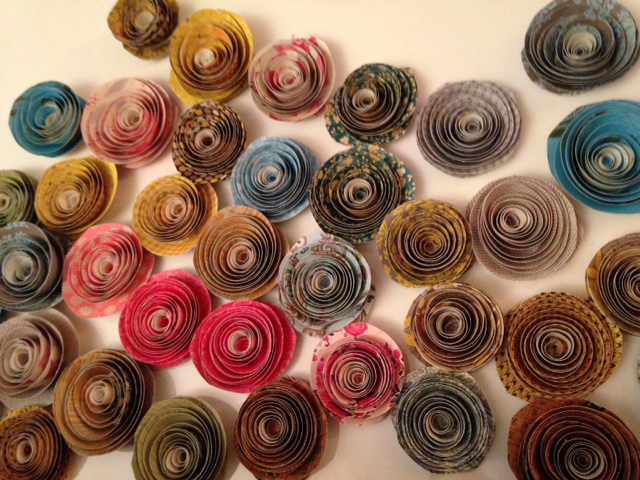 Isn't this paper just divine?! 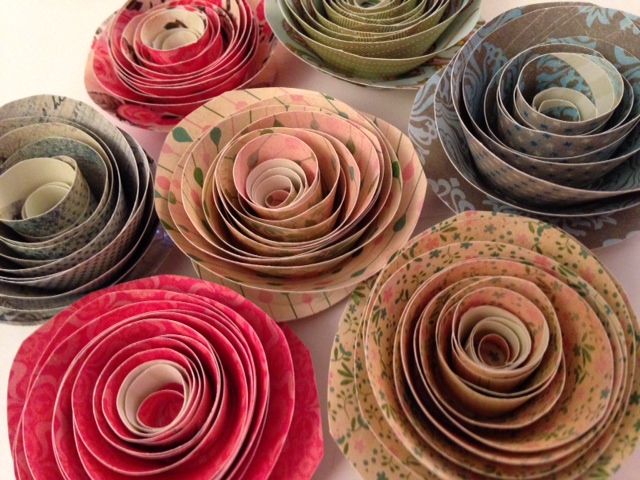 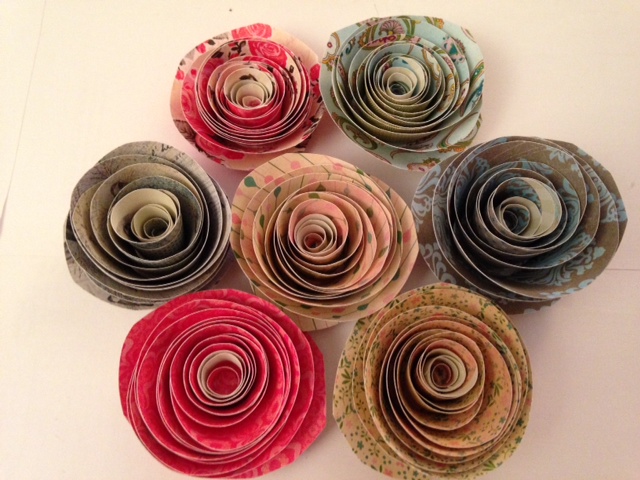 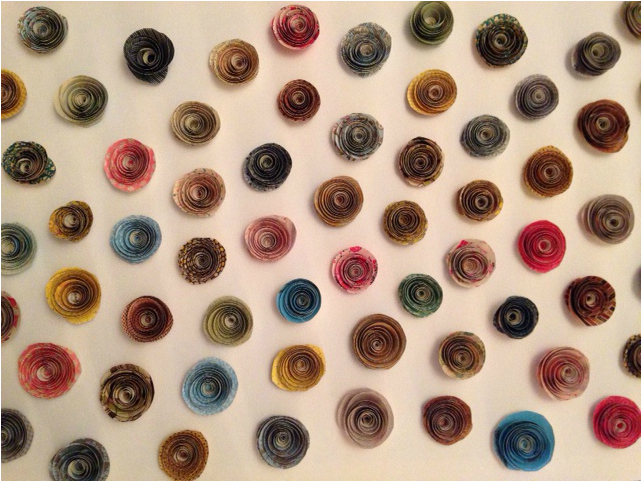 After a week of looking at the above picture, I decided that it needed more rosettes...I wasn't crazy about the pattern. So I made 48 more rosettes and added them to my picture. I LOVE how it turned out and can't wait to hang it in my office. 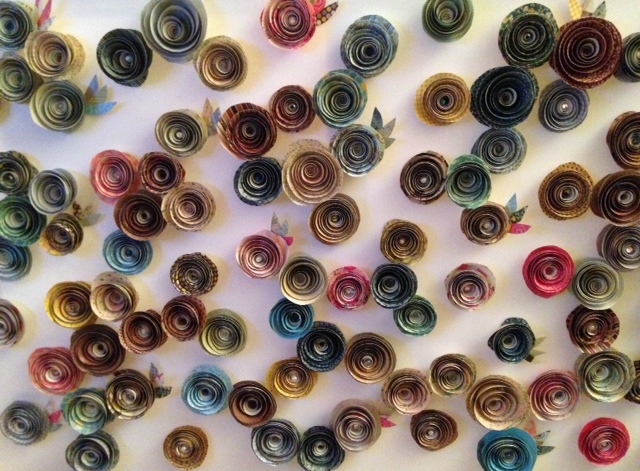 Basic Instructions:1. Pick out your paper. I used 7" x 7" double-sided scrapbook paper. You can make them with any kind of paper you want, but I found that the thicker scrapbook paper really seemed to hold its shape well. 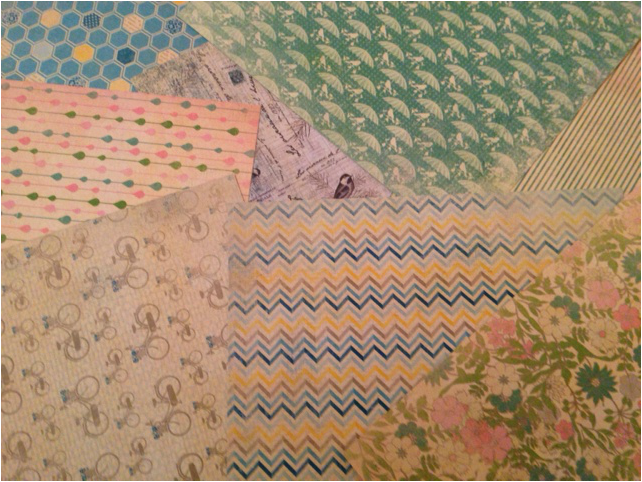 2. Trim the edges of your paper to make it a very rough circular shape. I eyeballed it and ended up with more of a rounded square, but it worked. 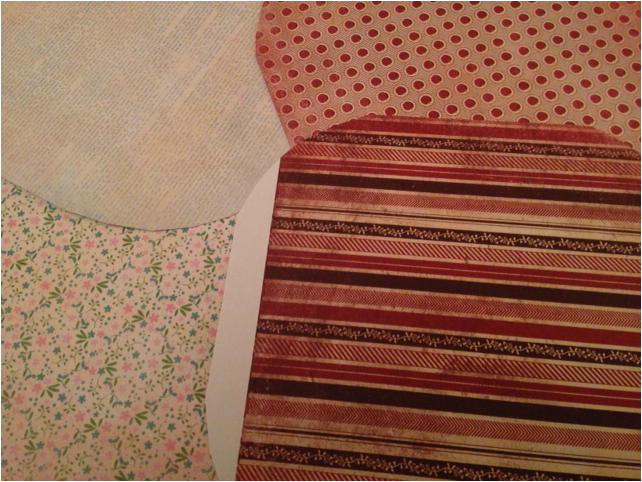 3. Starting at the outside edge, begin cutting a spiral into your paper. You can trace it first if you want, but I just eyeballed it and it turned out pretty well. Its ok if your spiral isn't perfect. If some sides are lop-sided, it gives an extra dimension to the petals once it is rolled up. When you get to the middle, leave about an inch sized circle (this becomes the base). 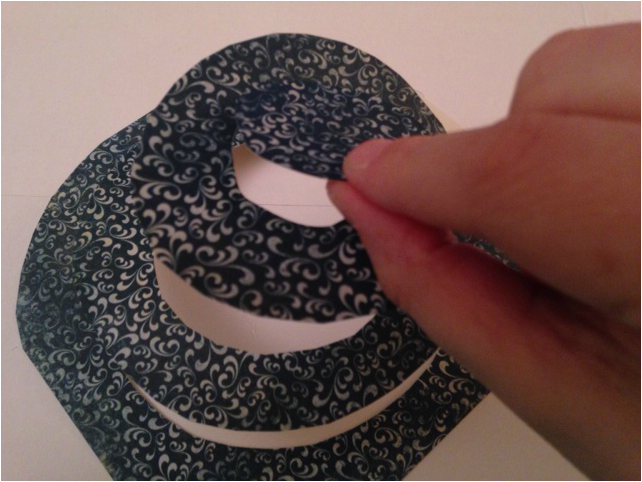 4. Starting at the outside, begin rolling your paper inward. You can use a pencil or something round to help you get started. Roll until you get to the center (you should have a pretty tight paper roll by this point). 5. Very carefully, release the spiral, allowing your rosette to uncurl a little. When you are satisfied with the way your rosette looks, carefully glue to the base. This part can be a little bit tricky. I used one finger on top, and put my thumb on the bottom to keep the rosette from uncurling any more. 6. Using a hot glue gun, place glue on the base and then place flower on top. You can adjust the spiral to your liking. Sometimes it takes an extra bit of glue to get all of the spirals to stay in place. Don't burn your fingers--it hurts!! 7. For added sparkle, glue a crystal, pearl or other bead in center. I also used the edges I cut off in step 2 to make leaves. you can be as creative as you want at this point. 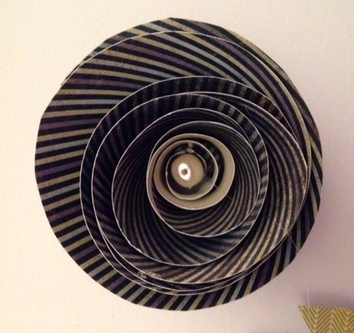
Sometimes life gets so wild and crazy and complicated. And what seemed to be like a nice quiet day turns into a chaotic tornado of thoughts and feelings and apprehension. I wish I could say that I was better at dealing with things like that, but I'm not. God is. And he is calling us to "be still and know that I am God..." (Psalm 46:10). He's got this. He's got all of the scary stuff under control. He just wants us to be still, to draw near to Him and to trust that He can work this all out for His good.
Attached below is an old Stephen Curtis Chapman song entitled "Be Still" that I am currently obsessed with. I challenge you to listen to it http://www.youtube.com/watch?v=lHlbnNUHQGI&list=RDeYXHLf3QJXI I, like everyone else in the country, am a little tired of winter. I miss Spring, glorious days filled with sunshine, warm weather, wearing flip flops, and all things unrelated to snow. So I decided to cheer myself up by making something bright and colorful. After making the black and white cross last week, I was inspired to make something with the leftover silver washers. Over the past year, I have collected some really great colors of fingernail polish. I love how bright and cheery they are. 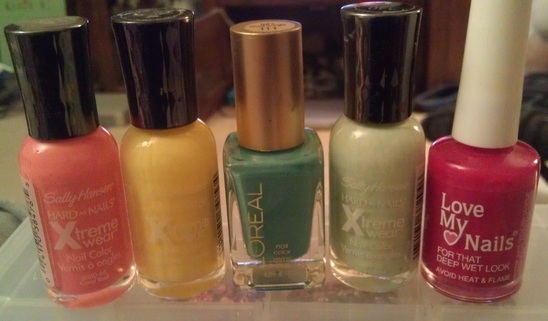
Don't they have fun names?! 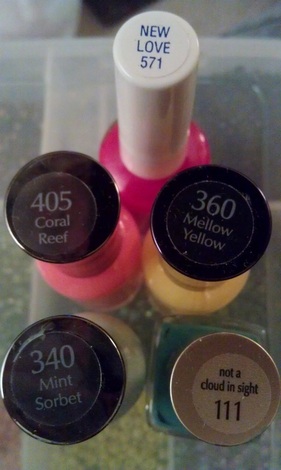
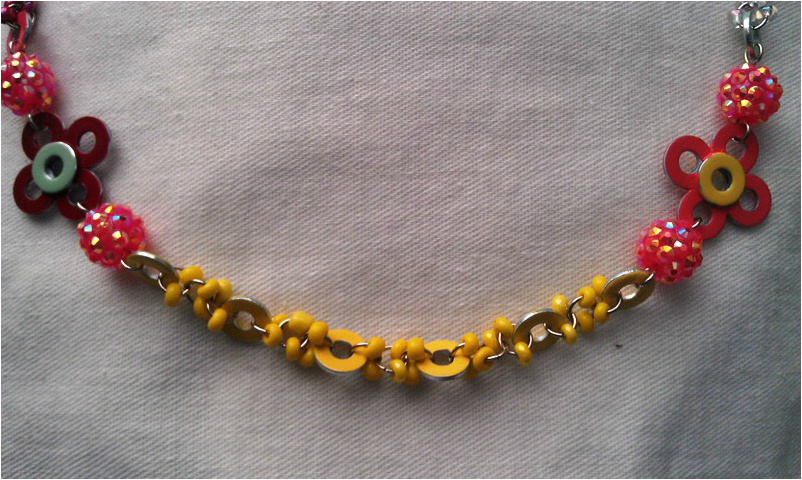
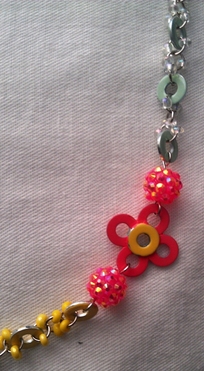
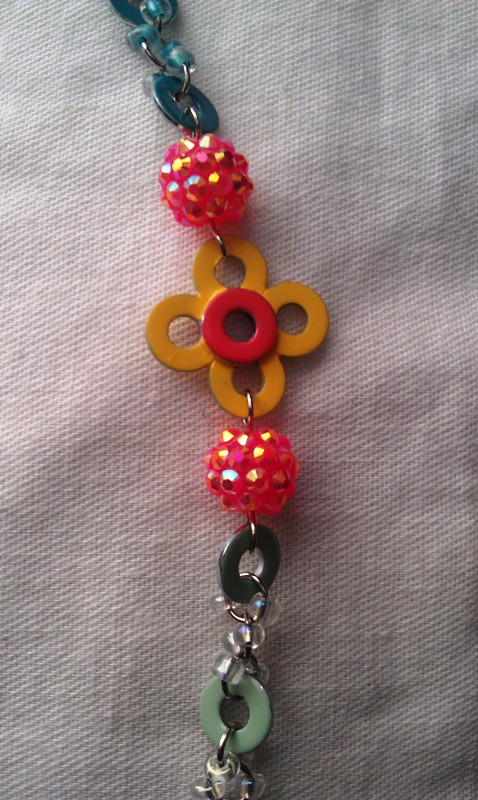
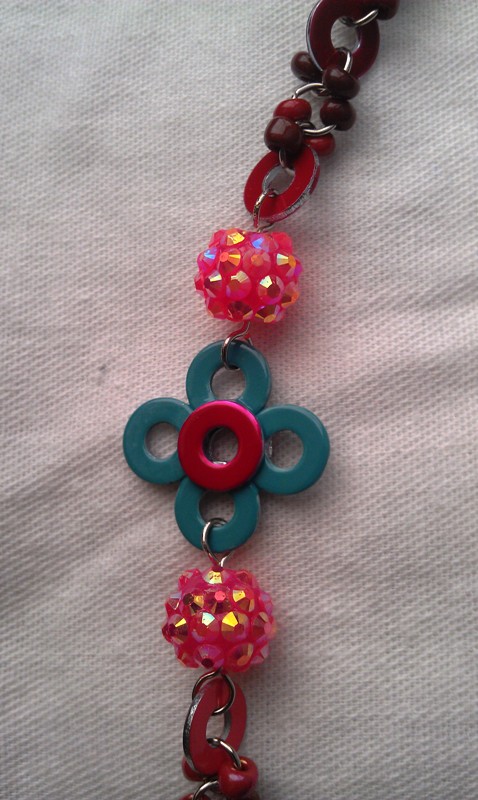
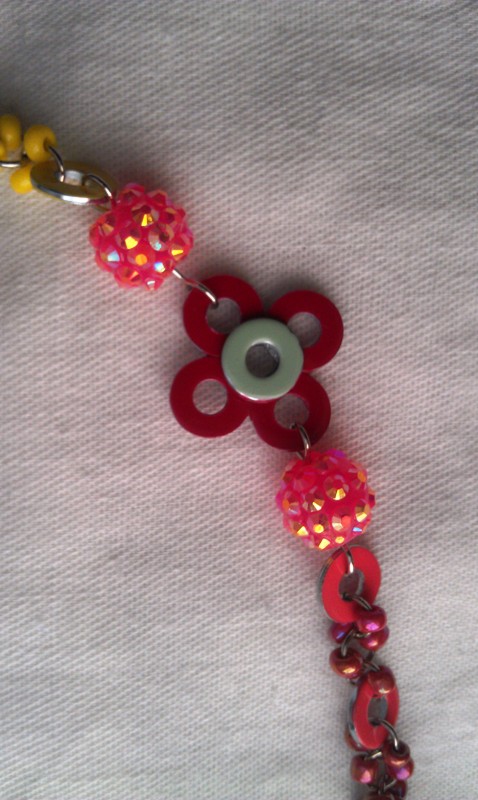
I decided to make washer flowers in several different colors. New Love with a Mint Sorbet center...Mellow Yellow with a Coral Reef center (and vice versa)...and Not a Cloud in Sight with a New Love center. (Isn't the Coral Reef just divine?!) 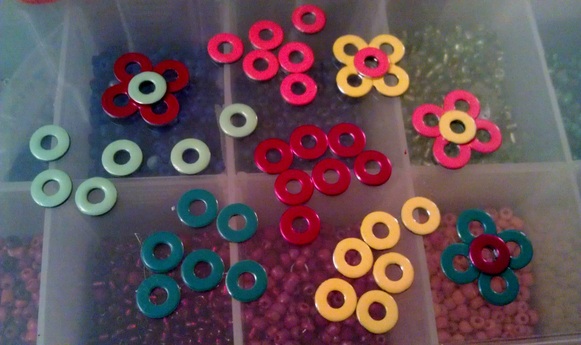
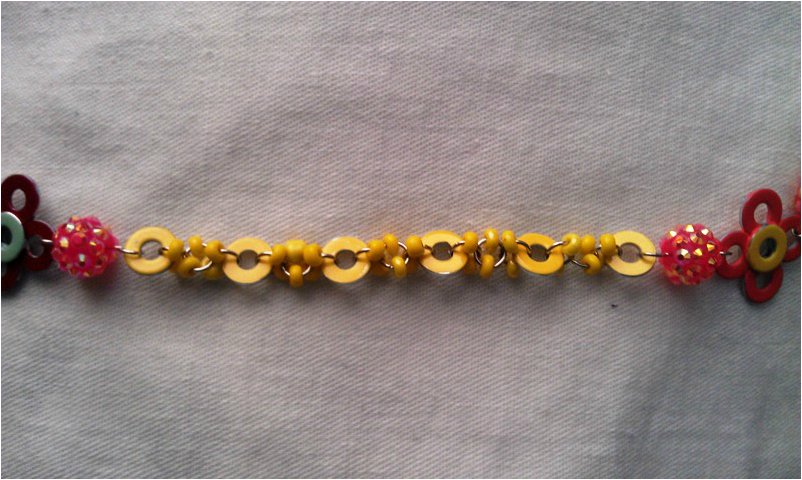
As I waited for my flowers to dry, I decided to paint some single washers in each of the colors. I decided that I could make a beaded chain using the washers as accent colors. When I first started working on the chain, I tried making a pattern with the colored washers. It didn't look quite right, so I slept on it and came back to it the next day. I realized that I liked the way the color blocking looked, so I made chains with all like colors and added seed beads in the same colors.
I loved how the colors played off of each other but it felt like something was missing...maybe something sparkly?! I found the rhinestone beads in a gorgeous coral color and thought they would be perfect. So I used them on either side of the flowers as an accent.
I love how the finished necklace turned out. It is bright and sparkly and full of personality. The more I look at it, the more I realize it has a certain Spanish flair to it, which I love. 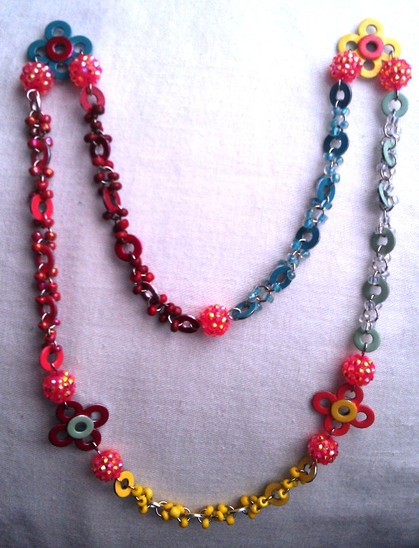
|
Archives
November 2015
Categories
All
|
 RSS Feed
