
|
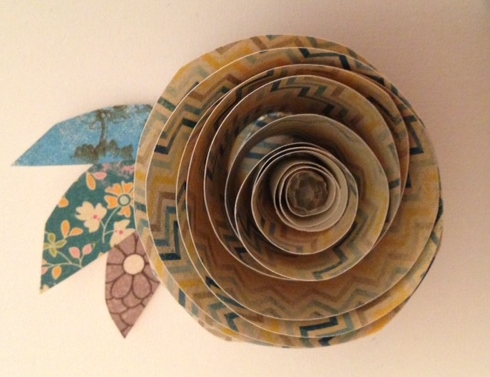
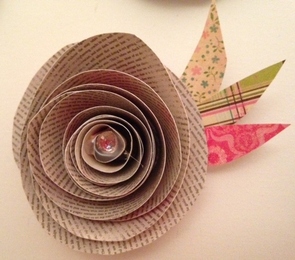
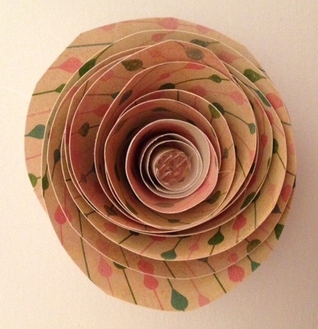
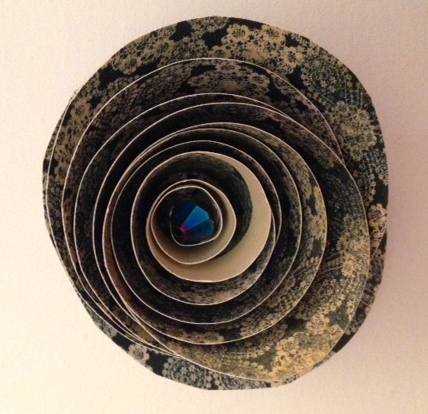
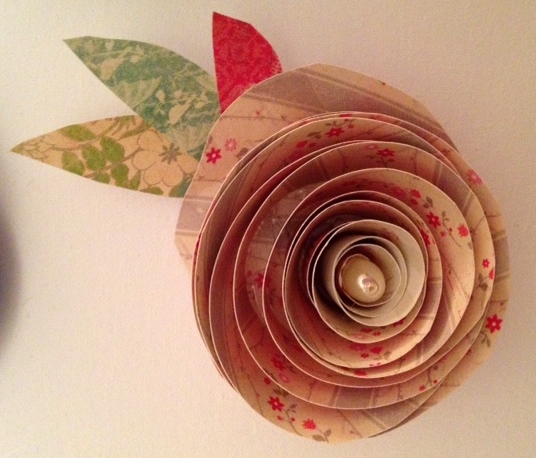
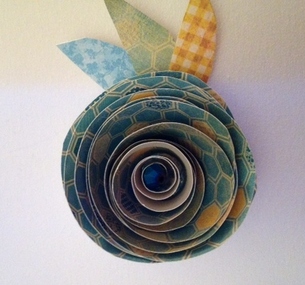
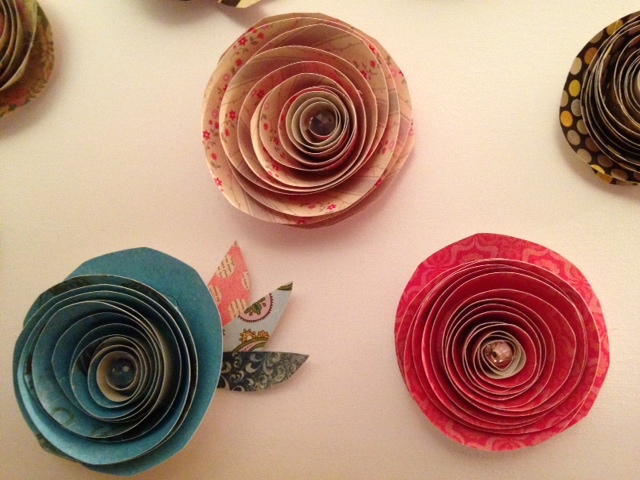
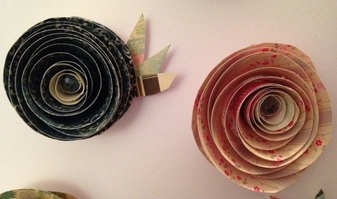
I wanted to make a nice wall hanging for my office, but I wasn't sure what to do with such a large space. So I did what any good crafter would do...I got on Pinterest. After hours of browsing, I discovered this paper flower garland that I loved. The instructions seemed pretty straightforward, so I decided to make some for myself. The one thing the instructions left out was how addicting they are to make. They are like Pringles: once you start, you just can't stop. 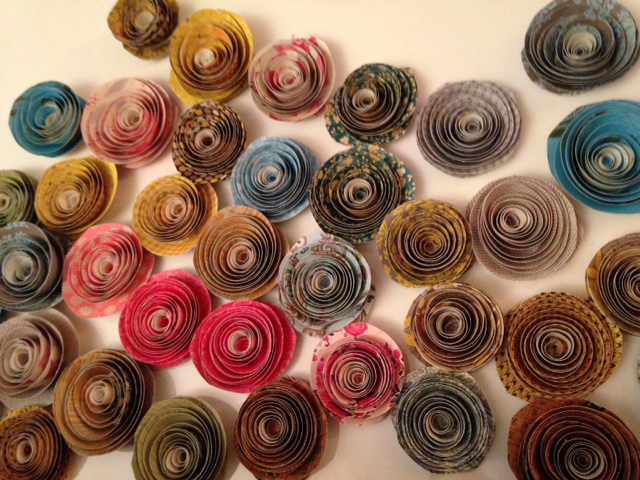 Isn't this paper just divine?! 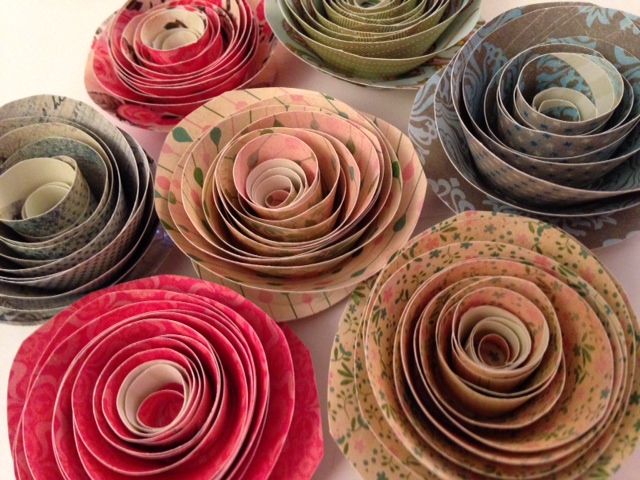 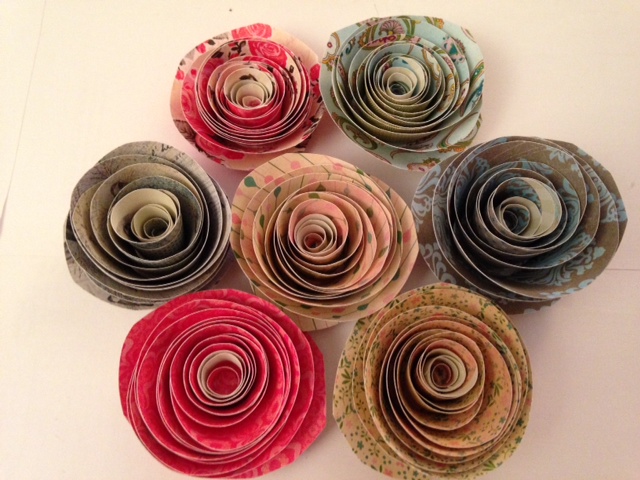 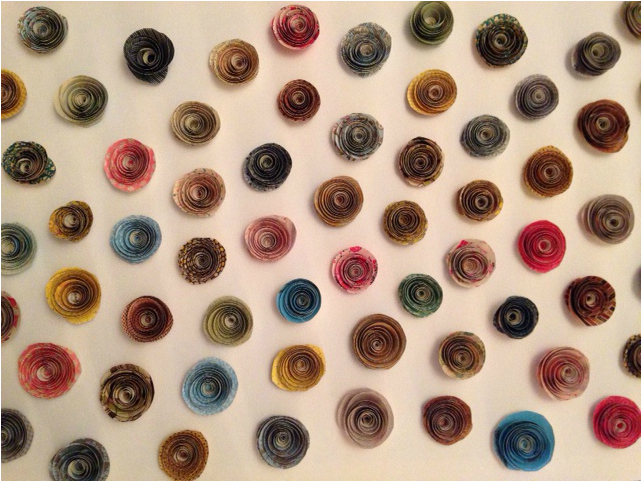 After a week of looking at the above picture, I decided that it needed more rosettes...I wasn't crazy about the pattern. So I made 48 more rosettes and added them to my picture. I LOVE how it turned out and can't wait to hang it in my office. 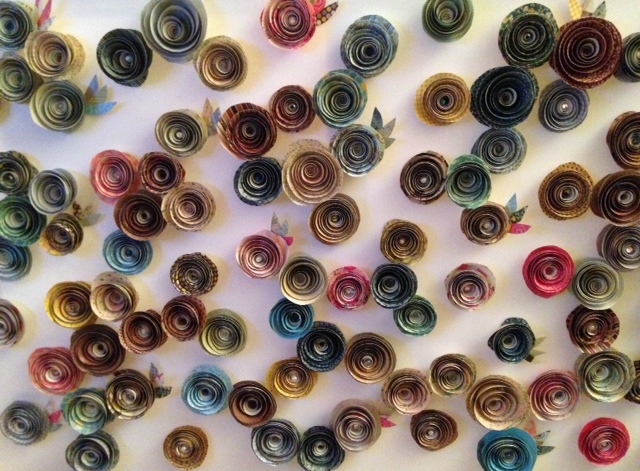 Basic Instructions:1. Pick out your paper. I used 7" x 7" double-sided scrapbook paper. You can make them with any kind of paper you want, but I found that the thicker scrapbook paper really seemed to hold its shape well. 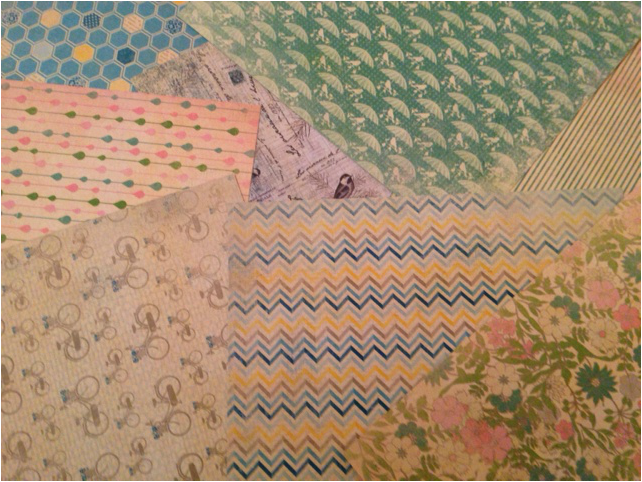 2. Trim the edges of your paper to make it a very rough circular shape. I eyeballed it and ended up with more of a rounded square, but it worked. 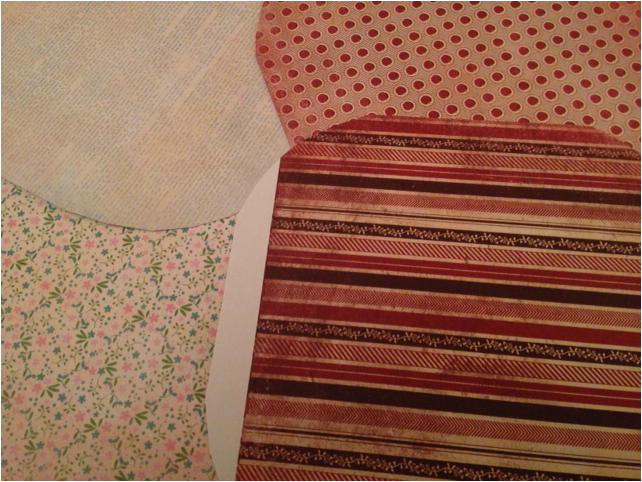 3. Starting at the outside edge, begin cutting a spiral into your paper. You can trace it first if you want, but I just eyeballed it and it turned out pretty well. Its ok if your spiral isn't perfect. If some sides are lop-sided, it gives an extra dimension to the petals once it is rolled up. When you get to the middle, leave about an inch sized circle (this becomes the base). 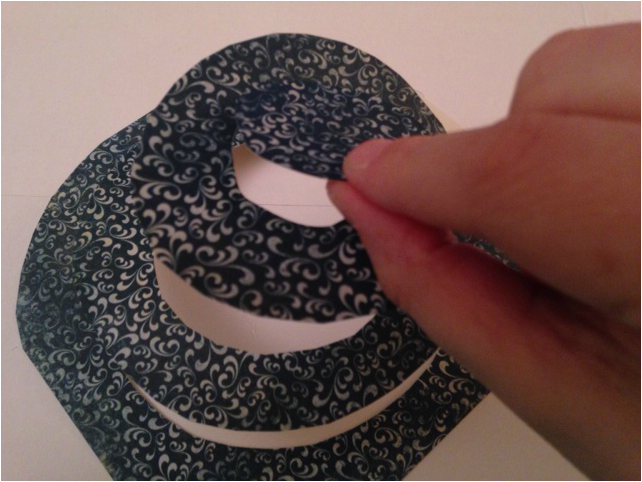 4. Starting at the outside, begin rolling your paper inward. You can use a pencil or something round to help you get started. Roll until you get to the center (you should have a pretty tight paper roll by this point). 5. Very carefully, release the spiral, allowing your rosette to uncurl a little. When you are satisfied with the way your rosette looks, carefully glue to the base. This part can be a little bit tricky. I used one finger on top, and put my thumb on the bottom to keep the rosette from uncurling any more. 6. Using a hot glue gun, place glue on the base and then place flower on top. You can adjust the spiral to your liking. Sometimes it takes an extra bit of glue to get all of the spirals to stay in place. Don't burn your fingers--it hurts!! 7. For added sparkle, glue a crystal, pearl or other bead in center. I also used the edges I cut off in step 2 to make leaves. you can be as creative as you want at this point. 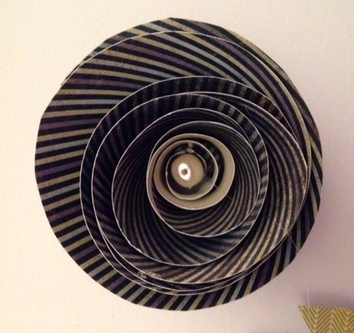
0 Comments
Leave a Reply. |
Archives
November 2015
Categories
All
|
 RSS Feed
